

Metal Detecting for Absolute Beginners: A Step-by-Step Guide to Treasure Hunting
Introduction
Have you ever walked along a beach and wondered what treasures might be hidden just beneath your feet? You're not alone! Metal detecting is an exciting hobby that combines outdoor adventure, history, and the thrill of discovery into one addictive package. According to recent surveys, metal detecting saw a 35% increase in popularity during 2024, with more beginners joining the treasure hunting community than ever before!

The very 1st silver coin (1944 Mercury Dime) I found after starting my metal detecting adventures. Photo Credit: Ace Covey
I still remember my first real find – a 1944 silver dime buried five inches deep in my local park. The moment my detector gave that distinctive high tone and I unearthed that coin, I was completely hooked!
That was over a decade ago, and since then, I've recovered everything from Civil War relics to gold jewelry and even a museum worthy display of WWII POW relics from a long lost encampment.

I uncovered 100’s of relics from this long lost WWII POW Camp in Michigan. Photo Credit: Ace Covey
Whether you're looking to find historical artifacts, jewelry, coins, or simply enjoy a unique outdoor activity, this beginner metal detecting guide will walk you through everything you need to know to get started on your treasure hunting journey. I can't wait to share the joy of that first "ping" signaling treasure beneath the surface!
**DISCLAIMER - As an Amazon Associate I earn from qualifying purchases. The links in the article are affiliate links that help support this blog and my channels. Metal Detecting Life is supported by you, the readers! When you purchase something I recommend via my links, I may get an affiliate commission (terms of service) — but it never affects the price you pay. Cheers!
Essential Equipment for Beginner Metal Detectorists

Going metal detecting? Make sure you have these essential items. Photo Credit: Ace Covey
When one first starts metal detecting, they often make the classic beginner mistake – buying an ultra-cheap detector from a department store. While you don't need to spend thousands, investing in proper equipment will significantly improve your success and enjoyment in the hobby.
For beginners, I recommend starting with a quality entry-level detector in the $200-$400 range. Models like the Garrett Ace series, Minelab Vanquish, or Nokta Makro Simplex+ offer excellent performance without overwhelming new users with complicated settings. My first "real" detector was a White’s M6 and it was a great machine that covered all the bases on features you’d want a metal detector to have.
There are three main types of metal detectors you'll encounter:
VLF (Very Low Frequency) – Perfect for beginners. These are versatile, relatively affordable, and work well in most environments. My recommendation for most new detectorists.
PI (Pulse Induction) – Specialized detectors that excel at beach hunting and gold prospecting but come with a higher price tag. I would not recommend this type of detector for every day hunting, especially in heavily trashy locations as they don’t discriminate well.
Multi-Frequency – Advanced detectors that operate on multiple frequencies simultaneously. These offer superior performance but at a premium price point. I didn’t upgrade to a multi-frequency detector (Minelab CTX 3030) until 13 years into the hobby.
Beyond the detector itself, you'll need some essential accessories:
Pinpointer – This handheld mini-detector helps pinpoint items in your hole. My Garrett Pro-Pointer has saved me countless hours of digging.
Digging tool – A good-quality trowel or digger is essential. I recommend a serrated-edge stainless steel trowel like a Lesche.
Finds pouch – Something to store your treasures. I use a multi-pocket pouch to separate different types of finds.
Headphones – Critical for hearing faint signals. I prefer wireless ones for unrestricted movement.
Gloves – Protect your hands while digging with a good pair of gloves. After cutting my hand on broken glass years ago, I never detect without them.
For maintenance, I rinse my detector coil after each use and periodically wipe down the shaft and control box with a damp cloth. This simple routine has kept my main detector working flawlessly year after year.
Understanding Your Metal Detector: Basic Settings and Functions

Learn what your detector features are telling you so that you dig more treasure and less trash. Photo Credit: Garrett Metal Detectors
The day I brought home my first quality detector, I spent hours in my living room just learning the controls before ever taking it outside. This preparation paid dividends in the field!
Assembly
Most modern detectors arrive partially disassembled, but assembly is straightforward – typically attaching the search coil to the stem, connecting the control box, and adjusting the length to a comfortable position. I always tell beginners to read the manual before assembly – something I learned the hard way after incorrectly attaching a coil gasket.

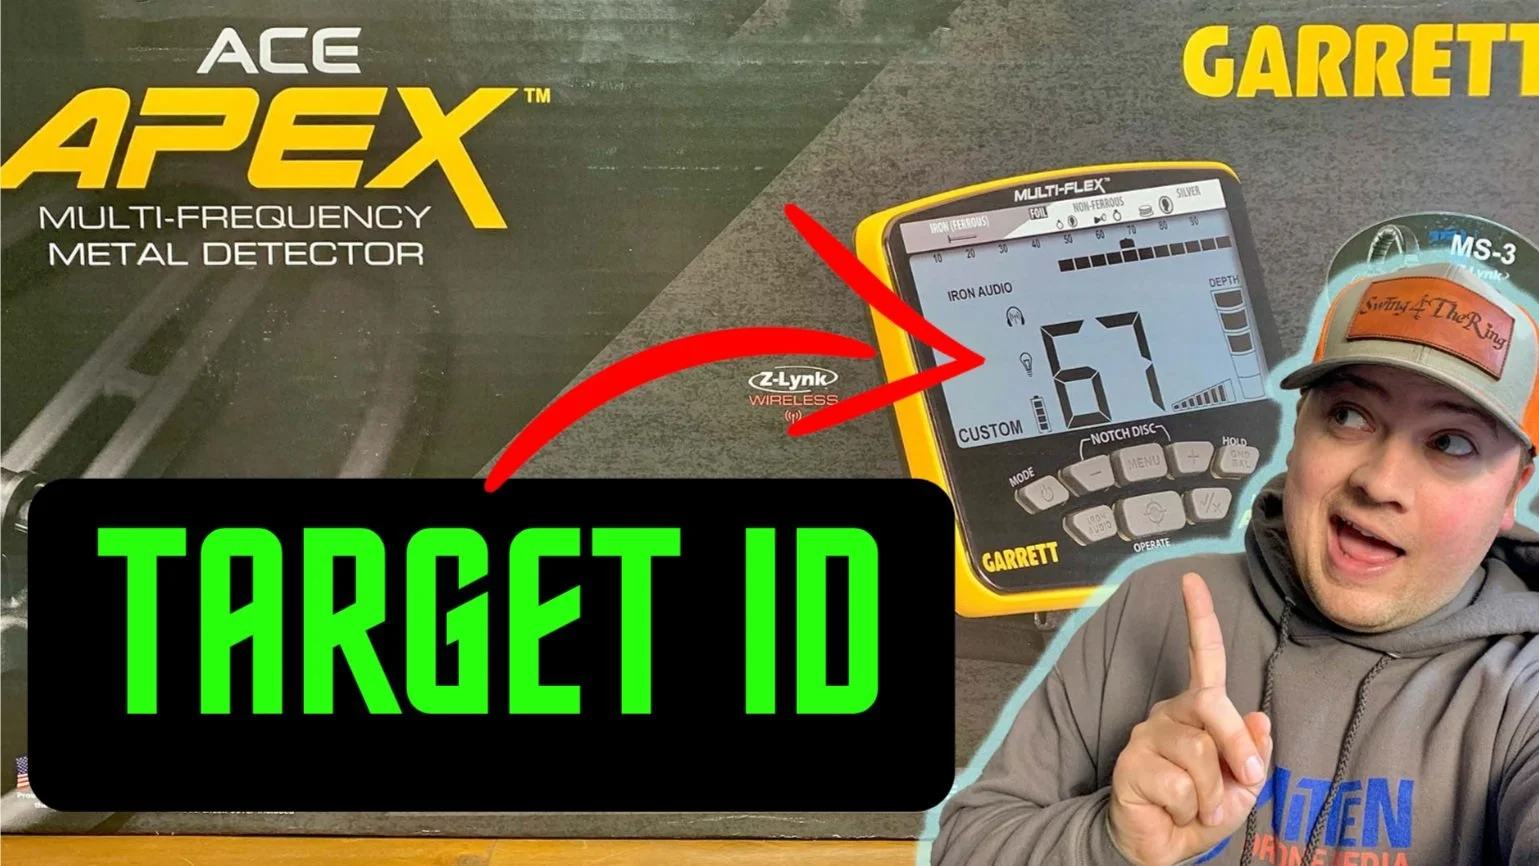
Your target ID will be related to your detector’s discrimination settings. Photo Credit: Ace Covey
Discrimination Settings
Understanding discrimination settings is crucial. Discrimination allows you to "ignore" certain types of metals – useful for filtering out junk like aluminum foil and pull-tabs. However, I made a critical discovery early on: high discrimination settings can cause you to miss good targets! I once spent a day detecting with maximum discrimination and found almost nothing, only to return the next day with lower settings and uncover three 1800s coins in the same area.
Ground Balancing
Ground balancing is another essential function that adjusts your detector to the mineral content in the soil. Many detectors offer automatic ground balancing, but learning to manual ground balance will improve your results dramatically. I recall hunting an old homestead with highly mineralized red clay – proper ground balancing doubled my depth penetration and helped me recover a beautiful 1800s brooch that would have otherwise been missed.
Sensitivity
Sensitivity settings control how responsive your detector is. While it might seem logical to crank this to a maximum, higher sensitivity also means more false signals. I typically start at about 75% sensitivity and adjust based on soil conditions and interference. On a recent hunt at a permission with buried power lines, lowering my sensitivity from 8 to 6 (on a scale of 10), eliminated frustrating chatter while still allowing me to find an Indian Head penny at 7 inches deep.
Coin Garden Testing
To practice with your new detector, I recommend testing in the "coin garden" when starting out. Bury different coins and metal objects at varying depths in your yard, then practice swinging over them and adjusting your detector’s settings to see how it effects the each signal. This exercise helped me learn my detector's different tones and improved my ability to estimate target depth remarkably quickly.
Metal Detecting Techniques for Beginners

Whether young or old, following a few basic tips will lead to more treasure. Photo Credit: Ace Covey
Proper technique makes all the difference between finding treasure and going home empty-handed. The most important skill is developing a proper swing motion with your detector.
The ideal sweeping technique is a slow, straight line from side to side while keeping the coil parallel to the ground and about 1 inch above the surface, brushing the grass lightly. I sweep in slightly overlapping lines, much like mowing a lawn. A common mistake I made as a beginner was sweeping too quickly – slow and methodical wins the treasure hunt!
When your detector signals a potential find, pinpointing becomes critical. Most detectors have a pinpoint mode that helps locate the exact position of the target. I use an "X marks the spot" technique: first sweep left to right to find the strongest signal point, then sweep top to bottom through that same point. Where the strongest signals intersect is your digging spot.


Digging properly is both a skill and an ethical responsibility. For lawns and parks, I use the "plug method" – cutting a horseshoe-shaped flap about 4-5 inches deep to get under the root level, folding it back without breaking the grass, retrieving the item, then replacing the plug and stepping it down. Done properly, the area should look untouched within days. On one occasion, I returned to a park where I'd dug 30+ holes the previous week, and couldn't identify a single one of my dig spots!
Different terrains require different approaches. On beaches, I use a simple beach scoop rather than a trowel. In wooded areas with roots, I often need to use a smaller shovel. My most challenging hunts are in rocky mountain soil, where I've developed a careful "pick and sift" technique to avoid damaging both my tools and potential finds.

Can You Dig It?
See the full lineup of beach scoops
The most heartbreaking beginner mistake is damaging a valuable find during recovery. I once sliced through a rare token with my shovel leaving it a Harry Potter scar mark because I was digging too aggressively. Now I dig wider and deeper than necessary, then carefully probe the sides and bottom of the hole with my pinpointer to locate the item before extraction.
Where to Go Metal Detecting: Best Locations for Beginners
Finding productive hunting grounds can be challenging when you're starting out. Let me share some of my favorite beginner-friendly locations.
Public parks and playgrounds

Public parks are great places to start metal detecting with wide open fields to swing your detector. Photo Credit; Ace Covey
Parks and playgrounds see high traffic and frequent loss of coins and jewelry. My local park has yielded over $200 in modern coins and plenty of relics over the years. Focus on areas around benches, beneath swings, and along pathways where items are most likely to be dropped.
Beaches

Who doesn’t love detecting a nice, sandy beach for treasure? Photo Credit: Nancy Ford - EARTH Metal Detecting Club
Beaches and swim areas are treasure magnets – especially the "towel line" where people set up for the day and the wet sand area where jewelry slips off in the water. Last summer, I recovered 12 rings (including two gold ones) in a single weekend after a holiday at my local beach!
Private Property

One of my favorite relics found to date, a Civil War Eagle Sword Belt Plate. Photo Credit: Ace Covey
For permission-based detecting on private property, I've found that a polite, professional approach works wonders. I keep a small portfolio of my interesting finds and offer to split anything valuable with the property owner. Using this approach, I gained access to a 200-year-old homestead where I unearthed my favorite Civil War relic to date.
Schools

School yards, while not usually holding highly valuable finds, often make up for it by producing lots of other finds. Photo Credit: Ace Covey
School yards can be incredibly productive. The playground at my old elementary school produced three silver rings and countless coins during just two hunting sessions. Playing fields where sports and events are held can be particularly good for jewelry finds.
Farm Fields

Farm fields have been worked for hundreds of years and are great locations for old coins and relics. Photo Credit: Federico Respini - Unsplash
Seasonally, I find early spring before plantings ideal for detecting in farm fields – the ground is soft from winter moisture, vegetation hasn't grown, and there can be decades of dropped items still waiting to be discovered because these farm fields are private property. Just be sure to get the farmer’s permission before setting foot on to their fields.
Metal Detecting Etiquette and Legal Considerations
Ethical detecting isn't just good practice – it ensures the hobby remains accessible to all of us in the future.
The metal detecting code of conduct I follow includes:
Always obtaining permission before detecting on private property
Filling all holes properly
Removing all trash found while detecting
Reporting significant historical finds to appropriate authorities
Respecting "no metal detecting" restrictions

Legal considerations vary significantly by location. In the U.S., most state and national parks prohibit metal detecting, while many city parks allow it with certain restrictions.
For potentially significant historical finds, many regions have reporting requirements. When I discovered a cache of WWII War-era relics and a partial dog tags on private property, I documented the location and reported it to our state's archaeological office. They were grateful for the information, allowed me to keep the finds, and added the location to their historical database.

Joining a local metal detecting club provides invaluable guidance on local regulations and permissions. My club maintains relationships with several property owners who allow club members to detect on their land. These connections have given me access to sites I could never have found on my own, including an 1850s stagecoach stop where I found my first 1700s coin!
Identifying and Preserving Your Finds
The thrill of discovery is only the beginning – properly identifying and preserving your finds extends the enjoyment.
For coin identification, I use a combination of reference books and websites like PCGS and NGC. The most challenging coins I've encountered were heavily worn colonial coppers that required careful cleaning and examination to identify. One particular coin I thought was worthless turned out to be a semi-rare colonial Canadian copper worth several hundred dollars!

When cleaning finds, gentler is always better. For coins, I use only olive oil soaks for encrusted examples and distilled water with a soft toothbrush for less damaged pieces. I made the heartbreaking mistake early in my detecting career of using abrasive cleaners on a silver quarter, permanently damaging its surface and value.
I document all my significant finds in a digital database with photographs, GPS coordinates, and details about the item and recovery conditions. This practice has allowed me to identify patterns in productive hunting areas and has proven invaluable for research.

My display methods have evolved over time. I started with simple coin holders but now use shadow boxes for themed displays like "Beach Jewelry Finds 2024" and archival-quality containers for more valuable items. My pride and joy is a custom-built coffee table with a glass top displaying my favorite historical finds, arranged chronologically from oldest to newest.
Taking Your Metal Detecting Skills to the Next Level
As your experience grows, so will your capabilities and interests within the hobby.
After mastering basic techniques, I recommend experimenting with different search patterns beyond the basic grid. My "expanding spiral" technique has proven particularly effective in areas with scattered targets. Starting from a known find, I spiral outward in increasingly wider circles – this has led me to discover several coin spills that I might have missed with traditional grid searching.
Equipment upgrades should be strategic. My progression went from my starter detector (Tesoro Silver uMax) to a mid-range model with better discrimination (Garret AT Pro), then finally to a high-end multi-frequency detector (Minelab CTX 3030) once I knew exactly what features mattered most to my detecting style. The multi-frequency capability has dramatically improved my success at beaches and highly mineralized sites.

Research skills become increasingly important as you advance. I combine historical maps, Google Earth, property records, and newspaper archives to identify promising sites. This research led me to discover an old schoolhouse where I recovered colonial coins, buttons, and buckles over several productive hunts.
The metal detecting community is incredibly supportive. I regularly attend rallies and organized hunts where I've learned techniques from detectorists with 40+ years of experience. These events often include seeded hunt fields where you can practice your skills while competing for prizes.
Many detectorists eventually specialize in certain types of hunting. I've gradually focused on beach and water detecting, while friends from my club have specialized in relic recovery, coin shooting, and even privy digging. Finding your niche makes the hobby even more rewarding!
Conclusion
Embarking on your metal detecting journey is the beginning of countless adventures and potentially amazing discoveries! With the right equipment, techniques, and knowledge covered in this beginner metal detecting guide, you're well-prepared to start unearthing history and valuables hidden beneath the surface.

A collection of gold items I have found over the years from metal detecting. Photo Credit: Ace Covey
Remember to always respect private property, follow local regulations, and practice good detecting etiquette. The metal detecting community is welcoming and supportive, so don't hesitate to join local clubs or online forums to share your experiences and learn from others.
I started this hobby with simple curiosity and have discovered not just valuable items but a deeper connection to local history and a worldwide community of like-minded explorers. Each item I unearth tells a story – who dropped it, how long it lay waiting for discovery, and how it connects to the broader historical narrative of a place.
What treasure might you find on your first outing? There's only one way to find out—grab your detector and keep the coil to the soil!
“So go out there and remember to “Swing4TheRing!””


